ChatFlint is a normal WordPress plugin. There is no account to create and nothing to connect before you install it.
- In WordPress go to Plugins → Add New → Upload Plugin and choose the ZIP file you were sent.
- Click Install Now, then Activate.
- A new ChatFlint item appears in the admin menu, and the setup wizard opens by itself the first time.
Requirements
- WordPress 6.0 or newer and PHP 7.4 or newer. Both are well below what any current host runs.
- An account with one AI provider (OpenAI, Anthropic, Google, DeepSeek, xAI or OpenRouter). You pay them directly.
- Nothing else. No Node, no external service, no separate database.
Where everything lives
The ChatFlint menu has five items. Everything else is a tab or a panel inside one of them.
- Dashboard — the setup checklist, the numbers, question topics, costs and the shopping funnel. (Older guides call this screen “Analytics”.)
- Inbox — conversations, human handoff, leads and data requests, with a badge for anything waiting on you.
- Knowledge — what the bot knows, in three tabs: Add & Sources, Entries, Tools.
- Design — how the widget looks and where it appears: Theme & Colors, Placement & Visibility, Launcher & Window, Widgets, Content & Text.
- Settings — everything else: General & AI, Knowledge & Sync, AI Behavior, Leads & Support, Privacy & Data, Integrations, Pricing & Limits, Import / Export.
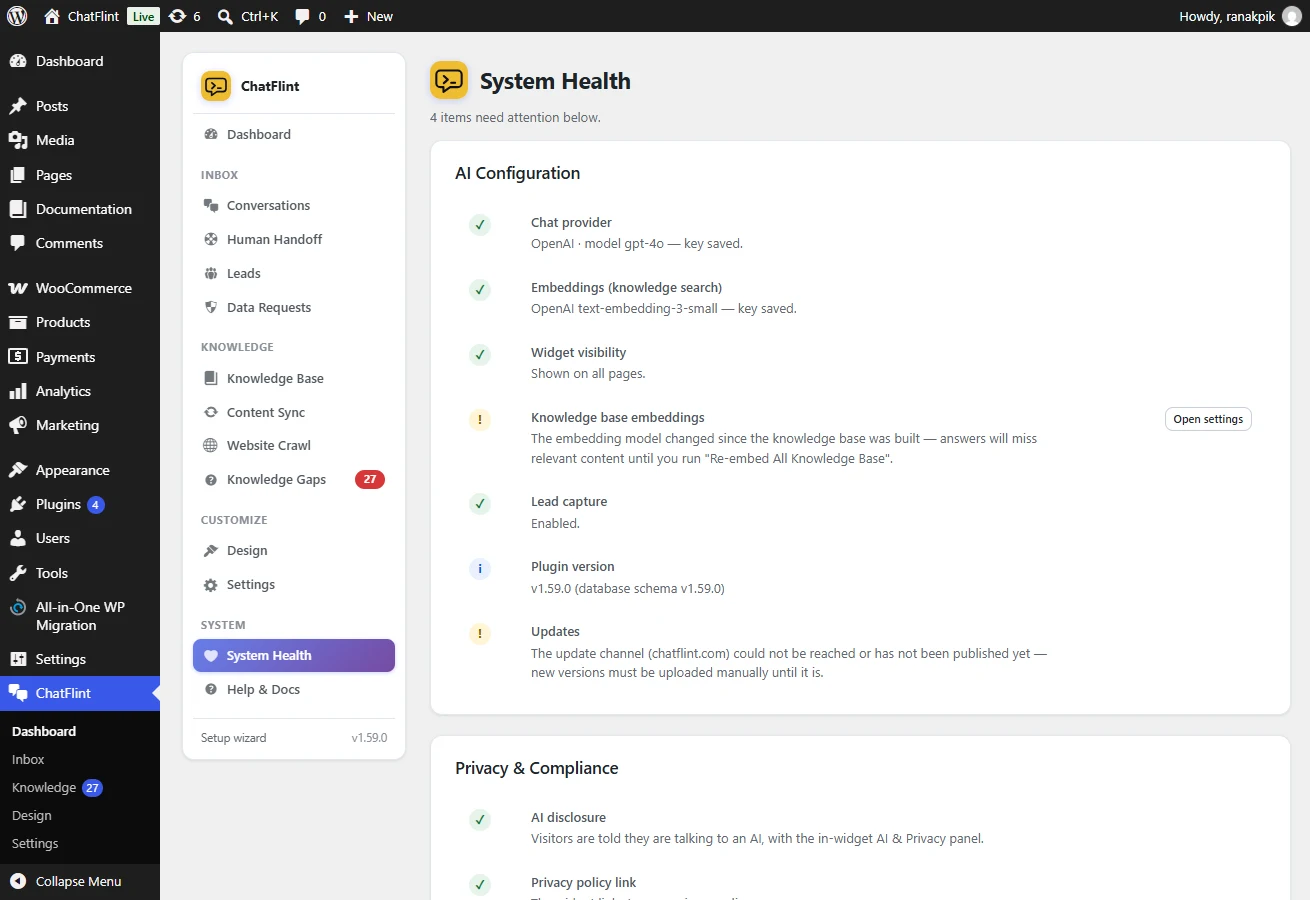
Three screens have no menu entry of their own and are reached from the Dashboard: System Health (the first place to look when something seems wrong), Knowledge Gaps (questions it could not answer) and Help & Docs.
Updates arrive on the Plugins screen like any other plugin, from version 1.53 onwards. Only the first install is a manual upload.